Turning Everyday Finds into Steampunk Pieces Without Specialist Tools
You do not need a workshop full of kit to get the steampunk look. If you already save jam jars, hoard old hardware, and can’t walk past a charity shop without checking the bric-a-brac shelf, you are most of the way there already. This guide is for upcyclers and home-decor tinkerers who like the aesthetic but have never called themselves “a steampunk person,” and it sticks entirely to hand tools you probably already own.
As an Amazon Associate I earn from qualifying purchases and sometimes recommend products from other sellers at no extra cost you. For more details see my disclosure policy and privacy policy.
⚙️ Steampunk Is a Junk-Drawer Aesthetic, Not a Shopping List
Steampunk gets sold as a niche hobby with its own specialist retailers, and that puts a lot of upcyclers off before they start. The truth is more forgiving. At its core, the look is about visible mechanism, aged metal, and materials that feel like they have a history: brass, leather, glass, wood, worn paint.
If you already upcycle furniture, rescue old jars, or rework secondhand clothes, you have been practising the underlying skills the whole time. Distressing a dresser, ageing new wood to match old, layering textures on a tired frame; these are steampunk techniques wearing a different label. The aesthetic rewards a slightly imperfect hand, which is exactly what most home upcycling projects already have.
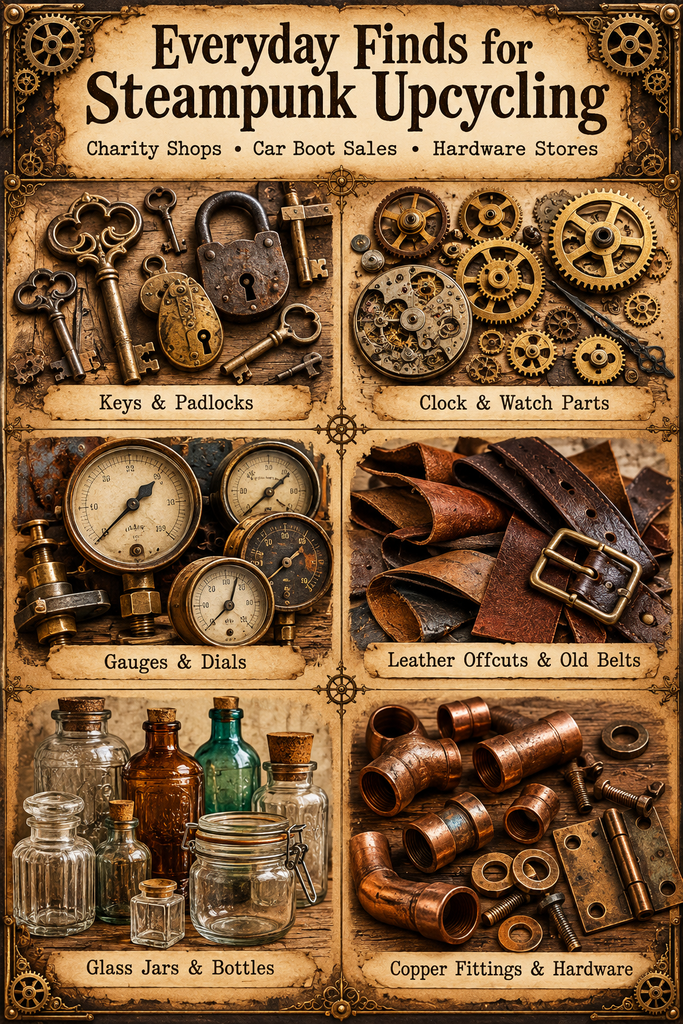
The shift is mostly about sourcing and combination rather than new skills. Once you start looking at your usual charity shop haul through a “found mechanism” lens, you will see potential steampunk material everywhere.
🔍 Where to Hunt for Steampunk Materials
You do not need a specialist steampunk supplier. Ordinary secondhand and hardware sources cover almost everything.
Charity shops and thrift stores are worth a slow browse rather than a quick scan. Old keys, mismatched cutlery, wind-up clocks, and cracked leather belts turn up more often than you’d expect, usually for pocket change.
Flea markets and car boot sales are stronger for anything mechanical. Look out for:
- Old keys and padlocks, especially anything with visible teeth or an ornate bow
- Clock and watch parts, particularly gears, cogs, and hands from movements too damaged to repair
- Gauges and dials, including old pressure gauges, thermometers, and speedometer faces
- Leather offcuts and old belts, which distress beautifully and cut down easily with scissors
- Glass jars and bottles with interesting stoppers or embossed lettering
- Copper pipe fittings, elbows, and washers from hardware stores or a builder’s off-cuts bin
Hardware stores are your best source for the connective tissue: washers, hinges, cup hooks, and small offcuts of copper pipe are cheap, plentiful, and instantly read as “mechanical” once they’re aged and grouped together. Buy a small mixed bag rather than a single piece; steampunk decor almost always reads better in clusters. A gear and cog charm assortment sold for jewellery-making is a fast way to bulk up your hardware stash if your local flea market has a quiet week.
One practical note: if something looks genuinely old and valuable, like a wind-up watch or a scientific instrument, it is worth a quick check before you cut it up. Most junk-drawer finds are exactly that, but the occasional piece is worth more intact.
It also helps to think in sets rather than single items. A charity shop trip that yields one interesting key rarely gives you enough to build a piece around. A trip that yields three keys, a broken clock, and a handful of mismatched washers gives you a working palette. Buy in small batches over a few weeks rather than trying to find everything in one outing; steampunk materials tend to turn up unevenly, and a slow-built stash almost always looks more coherent than a rushed one.
🖌️ Four Hand-Tool Techniques That Do the Heavy Lifting
You only need a handful of techniques to make ordinary materials read as steampunk. All four work with a paintbrush, sandpaper, and patience.
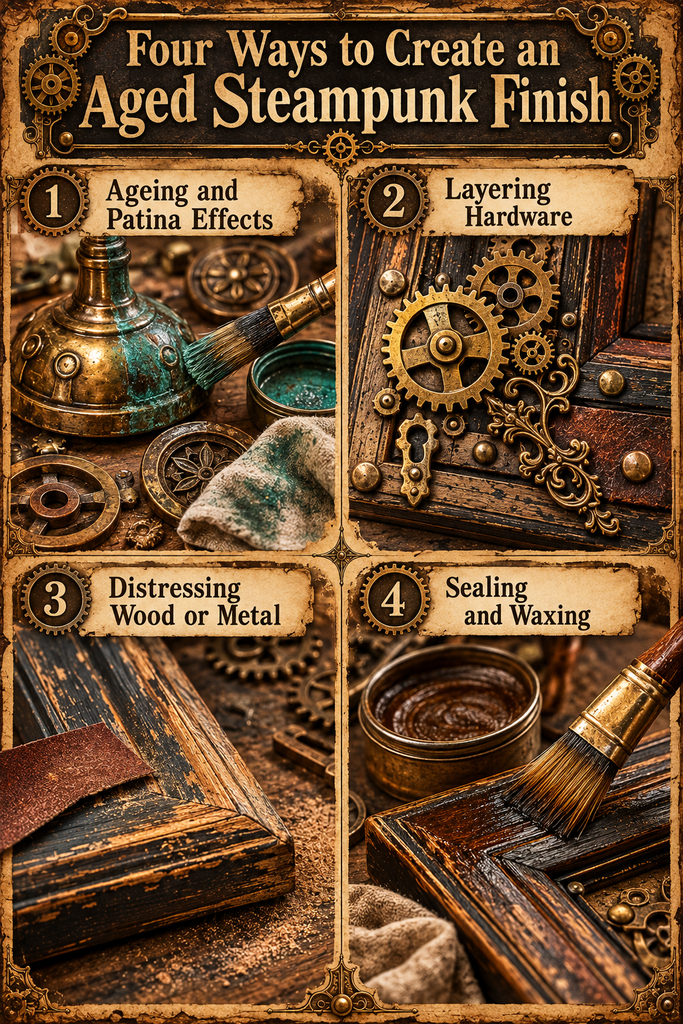
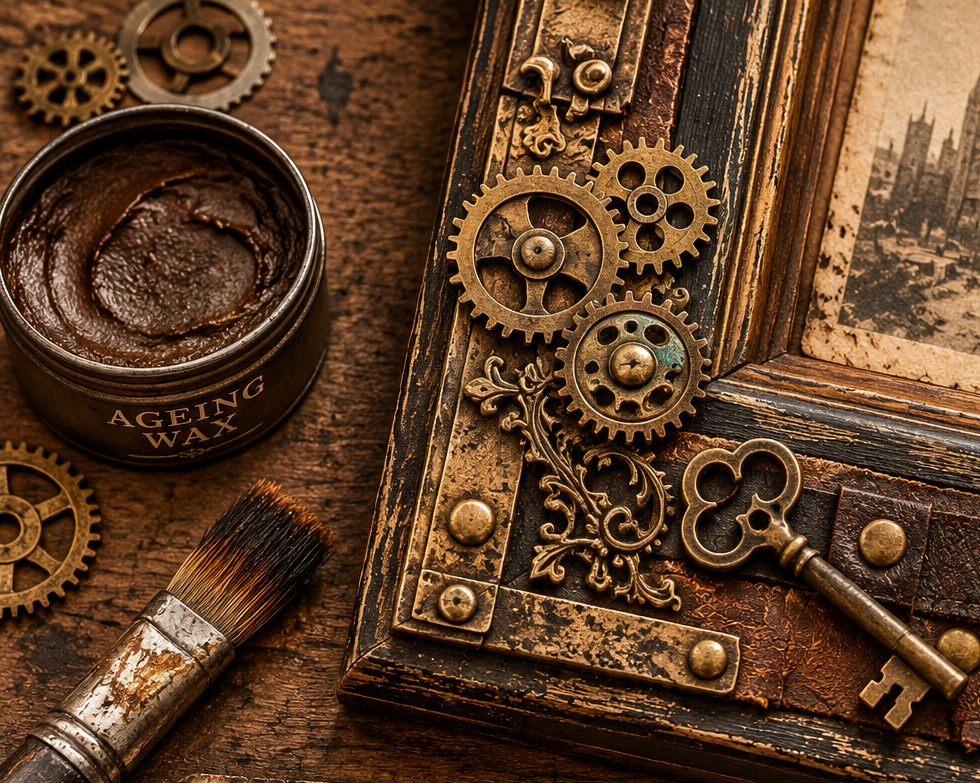
Ageing and patina paint effects. New brass and copper look wrong for this aesthetic; they need to look like they have survived a century in a workshop. A faux verdigris effect is built up in thin layers: a base coat, a wipe-back with a damp cloth while the paint is still wet so colour pools in the crevices, then a dry-brushed highlight on the raised edges. A cold patina or gilding wax rubbed into corners and worked back with a cloth does a similar job on wood and resin, not just metal.
Layering hardware. A single gear glued to a frame looks like a craft-fair sticker. Three or four gears of different sizes, overlapped and set at slightly different angles, look like a mechanism. The trick is variety in scale and a bit of overlap, so the eye reads “assembly” rather than “decoration.”
Distressing wood or metal. Sandpaper, used unevenly, is doing most of the work here. Concentrate wear on edges and corners, where a real object would actually get knocked about, and leave flat centres more intact. A short pass with fine steel wool knocks the shine off new hardware in seconds.
Sealing and waxing. A coat of clear wax or matte varnish over paintwork does two jobs: it protects a piece meant for actual use, and it unifies patina and base colour so the finish looks considered rather than patchy. Skipping this step is the most common reason a nearly-finished piece looks unfinished.
If you want a fuller rundown of core tools and materials before you commit to a project, our guide to getting started with steampunk making covers that ground in more depth.
🔧 Four Projects You Can Finish This Weekend
Each of these uses only a screwdriver, a glue gun, a paintbrush, and sandpaper.
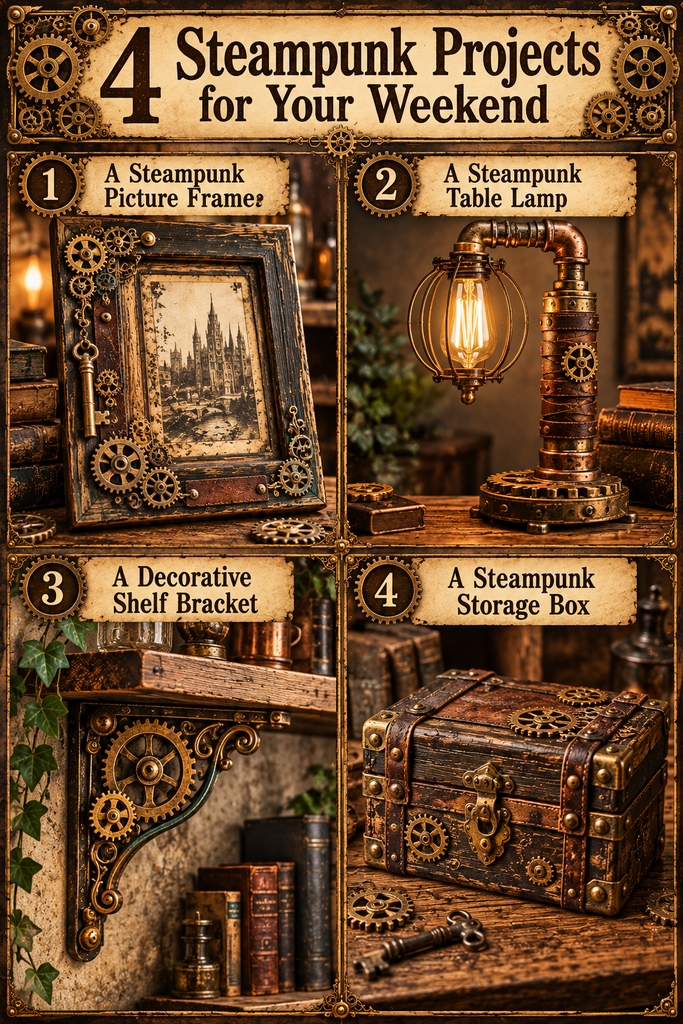
A steampunk picture frame. Start with a plain wooden or plastic frame from a charity shop. Distress the edges, apply a patina wash, then glue on a small cluster of gears or an old key in one corner. Keep embellishment to one corner or edge; a frame covered evenly in hardware reads as busy rather than considered.
A lamp base. An old table lamp with a plain column is ideal. Wrap sections in leather offcuts, add washers or a copper pipe collar around the base, and finish with an aged brass or copper paint effect. If you want to push further into period-accurate lighting once the base is sorted, our steampunk lighting ideas post covers bulb choice and fixture styles.
A shelf accent. A single plain shelf bracket, aged and paired with one striking element, a large gauge face or an oversized gear, reads as a considered accent rather than a full-blown theme. This is the easiest entry point if you want to test the look before committing a whole room to it.
A small storage box. A plain wooden or cardboard box gets a leather-look lid (real leather offcut or distressed fabric), a working clasp from an old hinge, and a patina finish on any visible hardware. This one doubles as practice for combining several techniques on one object.
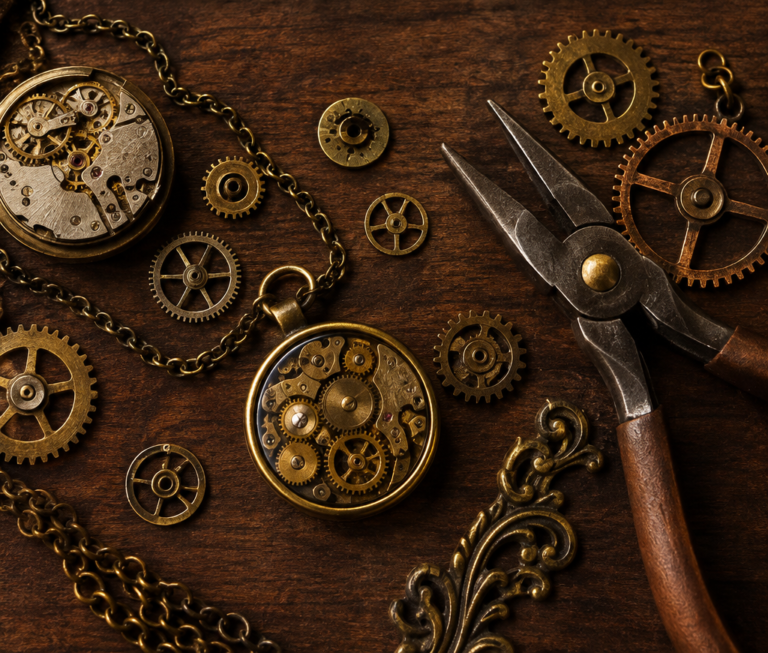
If keys, gears, and small hardware capture your attention more than furniture-scale projects, our beginner steampunk jewellery guide is a better next stop than anything here; a set of basic jewellery pliers makes short work of jump rings and wire ends either way.
What “Finished” Actually Looks Like With Basic Tools
It helps to know what basic tools genuinely can and cannot achieve, so you don’t abandon a project half-finished because it doesn’t match a machine-cut Pinterest image.
Hand tools do a convincing job of texture, patina, and assembly. A well-layered, well-sealed piece with hand-applied ageing can look every bit as finished as anything more elaborate, because the eye reads texture and colour before it reads precision.
Where hand tools struggle is exact repetition and fine symmetry. Identical cut shapes across multiple pieces, perfectly even scoring, or crisp geometric patterns are genuinely easier with a laser cutter or die-cutting machine. If a project stalls because edges won’t match exactly, that is usually the moment to accept a bit of asymmetry rather than force it with a craft knife.
Most disappointment comes from skipping the sealing step or under-layering the patina, not from a lack of specialist kit. A single thin coat of ageing paint looks like a mistake; three thin coats, wiped back between each, look like history.
Quick troubleshooting for common snags
The patina looks patchy rather than aged. This is almost always too few layers. Add another thin coat, wipe back while it’s still wet, and let each layer dry properly before judging the result.
Glued hardware keeps falling off. A hot glue gun struggles on anything heavier than small charms or thin metal. For a proper gear or gauge, drill a small pilot hole and use a screw or a dab of strong epoxy instead, then disguise the fixing with a touch of patina paint.
The piece looks like separate decorations rather than one object. Group hardware in clusters rather than spacing pieces evenly, and make sure every element gets at least a light pass of the same ageing treatment so the colours read as one family rather than several unrelated finishes.
Where the Aesthetic Can Go Next
None of this requires a 3D printer or a Cricut, and it never will for the projects above. But once you’ve got a few pieces under your belt and want more precision, repeatable shapes, or faster output, that’s the point where those tools start to earn their keep. Our guide to DIY steampunk homewares with a 3D printer and a Cricut picks up exactly where this one leaves off, for whenever you’re ready for it. There’s no rush; plenty of steampunk makers never move past a glue gun and a paintbrush, and their work looks just as finished.