A Steampunk Shelf Display You Can Print and Cut in a Weekend
Most steampunk projects come with a suspicious amount of “and then you’ll need a forge.” This one doesn’t. It is a single, finished shelf vignette built from printed pieces and cut elements, planned hour by hour across a Friday, Saturday and Sunday.
As an Amazon Associate I earn from qualifying purchases and sometimes recommend products from other sellers at no extra cost you. For more details see my disclosure policy and privacy policy.
By Sunday evening you will have a brass-and-copper scene lit from within, sitting on a shelf where it will quietly outclass everything around it. If you already own a printer and a cutting machine, the rest is mostly patience and paint.
⚙️ What You Are Building
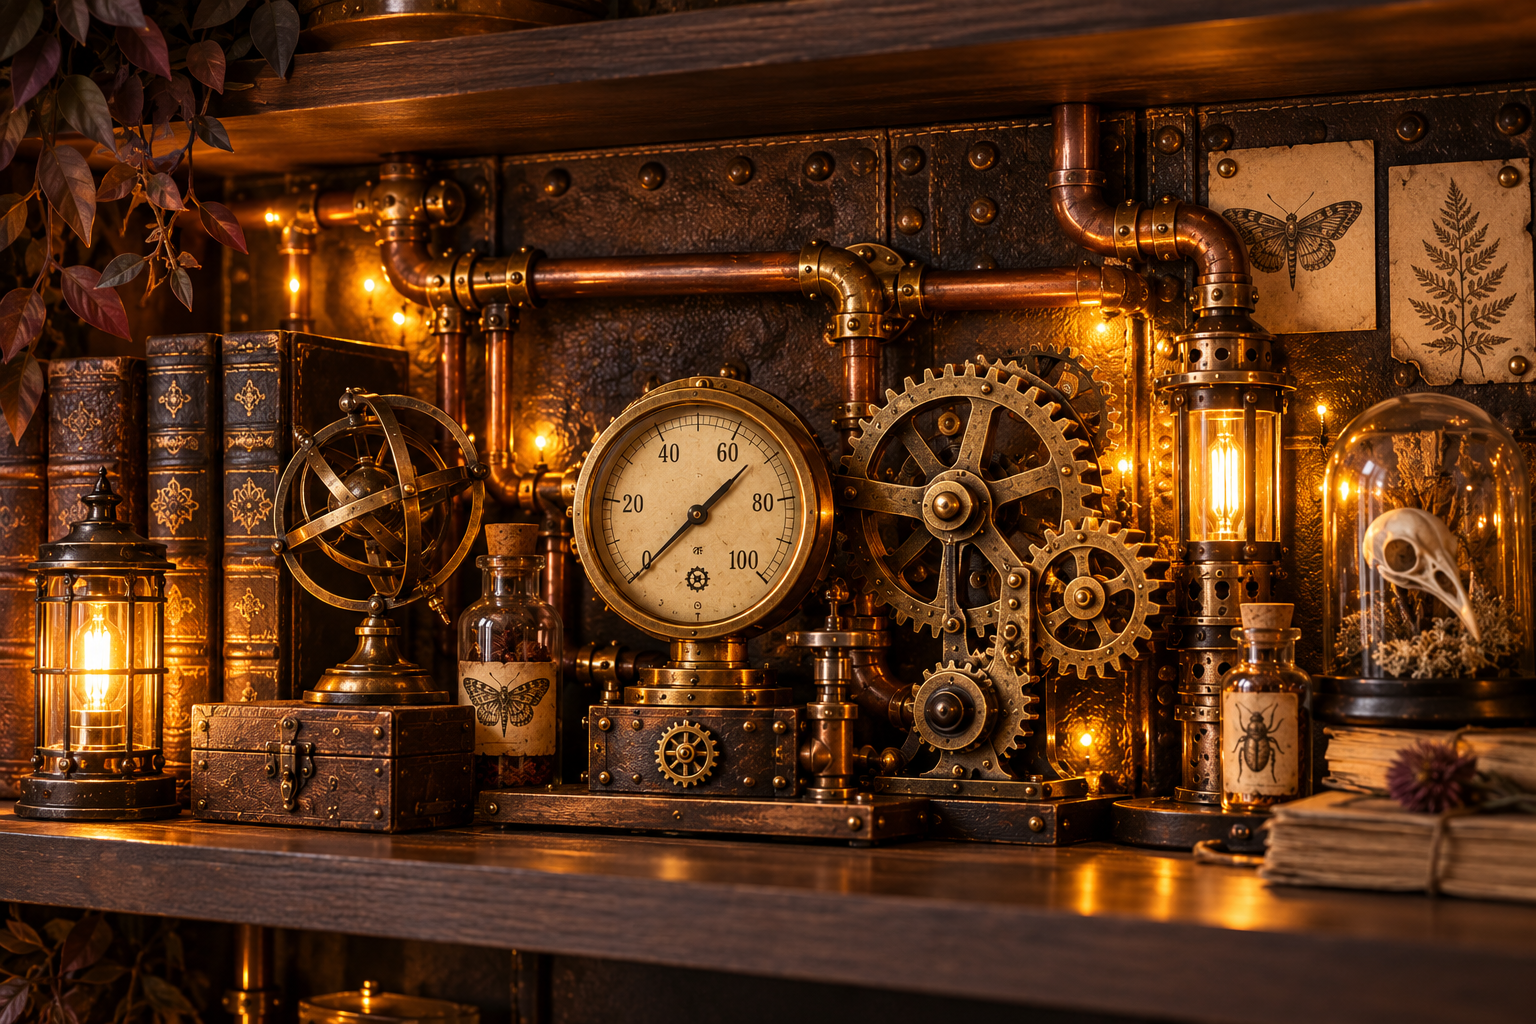
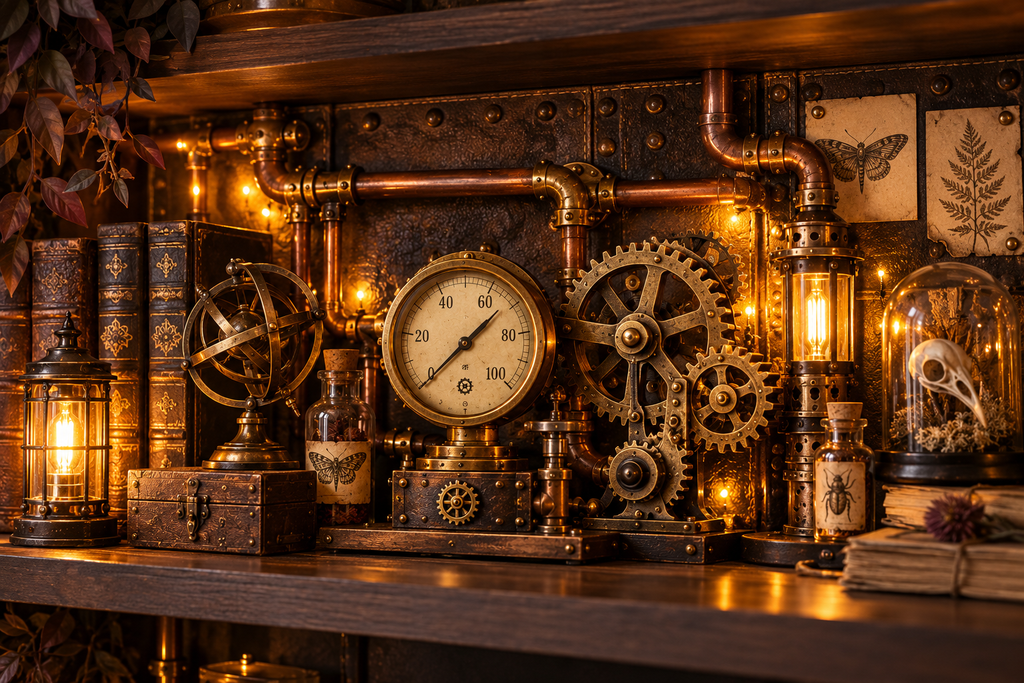
The display is a compact scene sized for a standard shelf of roughly 60 cm (24 inches) wide. It has four parts that work together:
- A cut backdrop panel with a riveted-look border, which frames everything and hides the wall.
- A pipework run that snakes across the back and disappears into the panel.
- A cluster of meshing gears, some freestanding and some mounted on the backdrop.
- A brass-look centrepiece: a gauge-faced dial on a small plinth, which is the thing everyone’s eye lands on first.
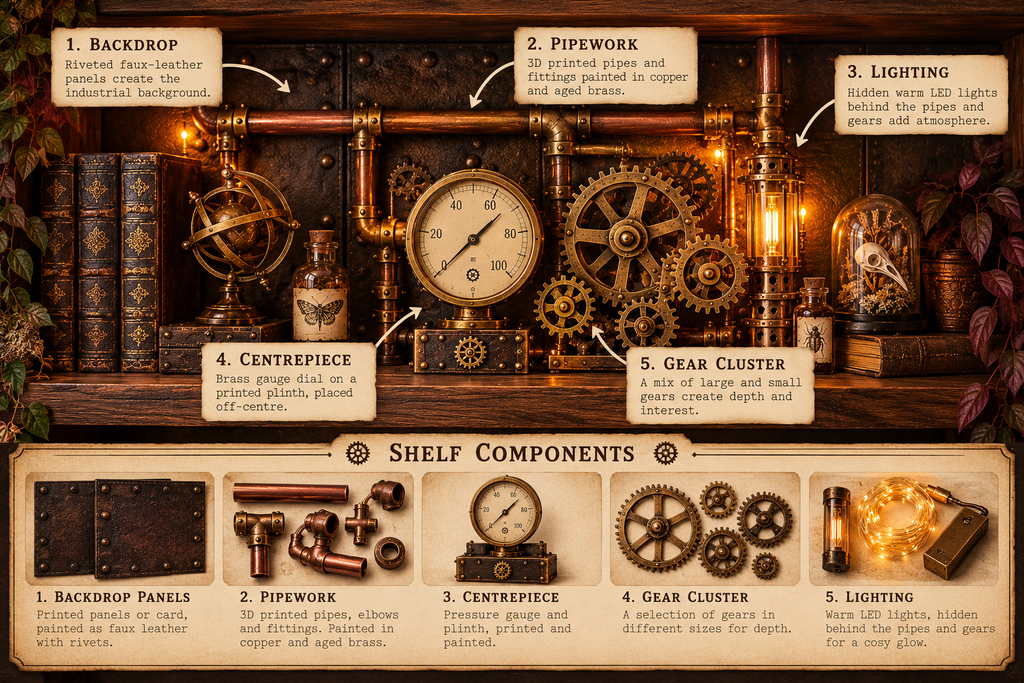
Add cut labels and hidden lighting, and you have a scene rather than a pile of props.
This is a deliberately single-minded project. I have already covered the wider world of printed homewares in DIY Steampunk Homewares with a 3D Printer and a Cricut, so none of that is repeated here. Think of this as the one finished thing, with a schedule attached.
🧰 What You Need Before Friday
You do not need a workshop. You need a clear table, decent ventilation for painting, and a few supplies on hand before the weekend starts.
Machines and files
- A filament printer with a bed large enough for a gear about the size of your palm.
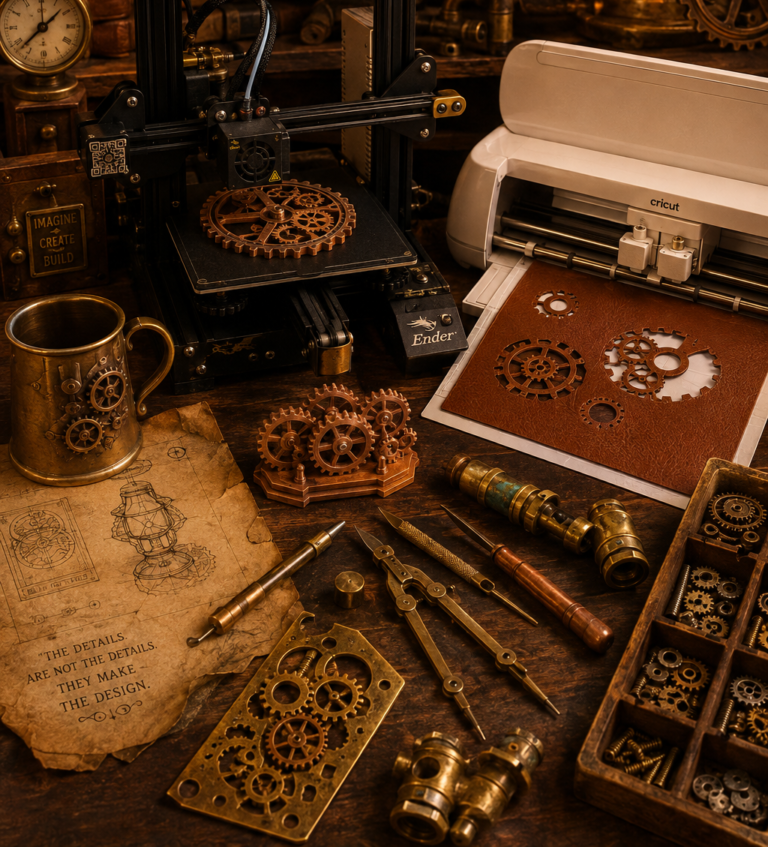
- A cutting machine that handles card, vinyl and faux leather.
- Your files, downloaded and sliced before Friday evening. If you are still hunting for designs, Where to Find Steampunk STL Files and Designs Worth Printing is the place to start.
Materials
- About 400 to 500 g of filament in a dark neutral such as black or dark grey. Painting over dark plastic gives richer metals than painting over white.
- Matt or satin acrylic paints in copper, aged brass, bronze and a gunmetal grey.
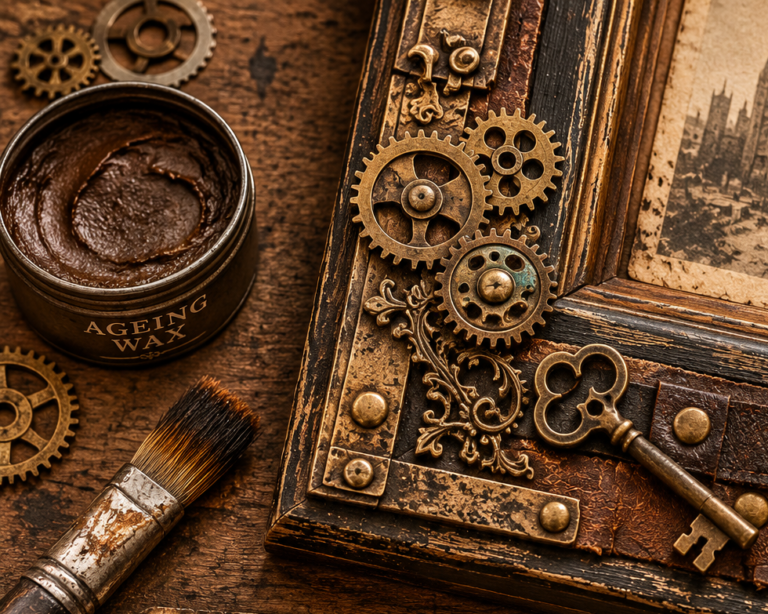
- A small tub of metallic rub-on wax for the final highlights.
- Heavy card or thin MDF for the backdrop, plus faux leather or textured card for trim.
- Adhesive vinyl or sticker paper for labels.
- A battery-powered lighting set, which I will come back to on Sunday.
A rough budget If you already own the machines, expect to spend somewhere between 30 and 60 pounds (about 40 to 80 dollars) on consumables. Most of that is filament, paint and lighting.
Brand new to the printing side? 3D Printing Steampunk Props and Decor from Start to Finish covers the process so I do not have to here.
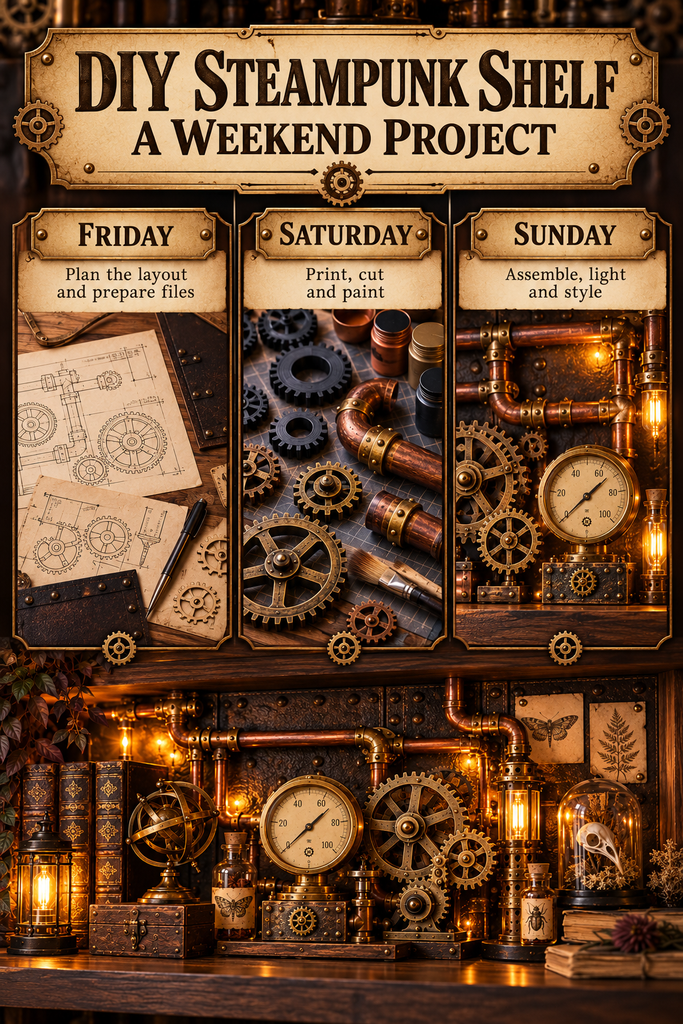
🕰️ Friday Evening: Plan the Layout and Start the Long Prints
Friday is about decisions, not glamour. The goal is to get the slowest prints running before you go to bed, so the machine does the heavy lifting while you sleep.
Measure and sketch (30 minutes)
Measure the inside of your shelf: width, depth and the clear height under the shelf above. Then sketch a rough layout on paper, marking where the centrepiece sits, where the pipework enters and where the gears cluster.
The classic mistake is putting the centrepiece dead centre. A slightly off-centre focal point looks far more deliberate, so try placing it about a third of the way across.
Decide what scales (10 minutes)
Most files can be scaled up or down in your slicer without trouble. Gears are the exception, because meshing teeth only work if every gear in a pair is scaled by the same amount. Scale a gear pair together or not at all.
Queue the prints in the right order
Slice everything, then arrange the prints from longest to shortest:
- The centrepiece dial and plinth, which are the biggest and slowest parts.
- The largest gears.
- The pipework sections and elbow joints.
- Small gears, bolts and filler detail.
Start the centrepiece before bed. If your machine has a long overnight run in it, queue the largest gears behind it.
Use a layer height of around 0.16 to 0.2 mm for visible pieces. Finer layers mean less sanding on Saturday, which is a trade worth making.
🎨 Saturday Morning: Cut the Backdrop, Labels and Details
Saturday starts with the cutting machine, because it is quick, satisfying and gives the prints time to finish. Put the kettle on, check that last night’s centrepiece survived, and then get cutting.
The backdrop panel (about 90 minutes)
Cut your heavy card or thin board to the interior dimensions of the shelf, minus a couple of millimetres so it slides in without a fight. Then cut a border of faux leather or textured card, and a row of small circles to act as rivet heads.
Glue the border down first and the rivets last. A small dot of paint on each rivet in a slightly different brass tone looks far more convincing than a row of identical ones.
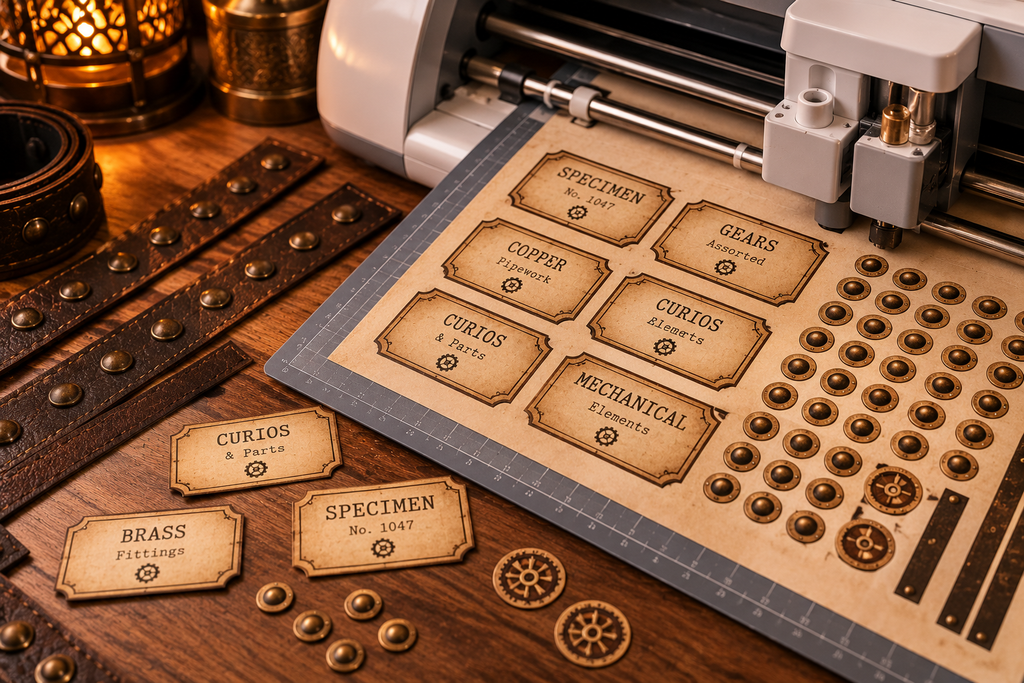
Labels and tags (45 minutes)
This is where the display stops looking like props and starts looking like a collection. Cut small labels in an apothecary or museum style with names such as “Pressure Regulator, No. 4” or “Specimen: Brass Cog, Unidentified”.
Keep the text short and slightly absurd. A dry joke on a tiny tag is the easiest way to give a scene personality.
For anything involving the cutting machine itself, the Cricut sections in the homewares post linked earlier already cover the basics, so I will not repeat them here.
🖌️ Saturday Afternoon: Finish the Prints
This is the part that turns grey plastic into metal. Do not rush it, and do not skip the layers.
Prep (45 minutes)
Remove supports, trim any stringing and lightly sand visible faces. A quick pass with fine sandpaper is plenty, since the paint will hide the rest.
If you want a smoother look on the centrepiece, a coat of spray primer helps fill layer lines. Work outdoors or somewhere well ventilated, and let it dry fully.
Base coats (60 minutes)
Paint the pieces in blocks of colour rather than one at a time:
- Gears in aged brass and bronze, mixing the two across the cluster.
- Pipework in copper, with a few joints picked out in gunmetal.
- The centrepiece plinth in dark bronze, and the dial rim in brass.
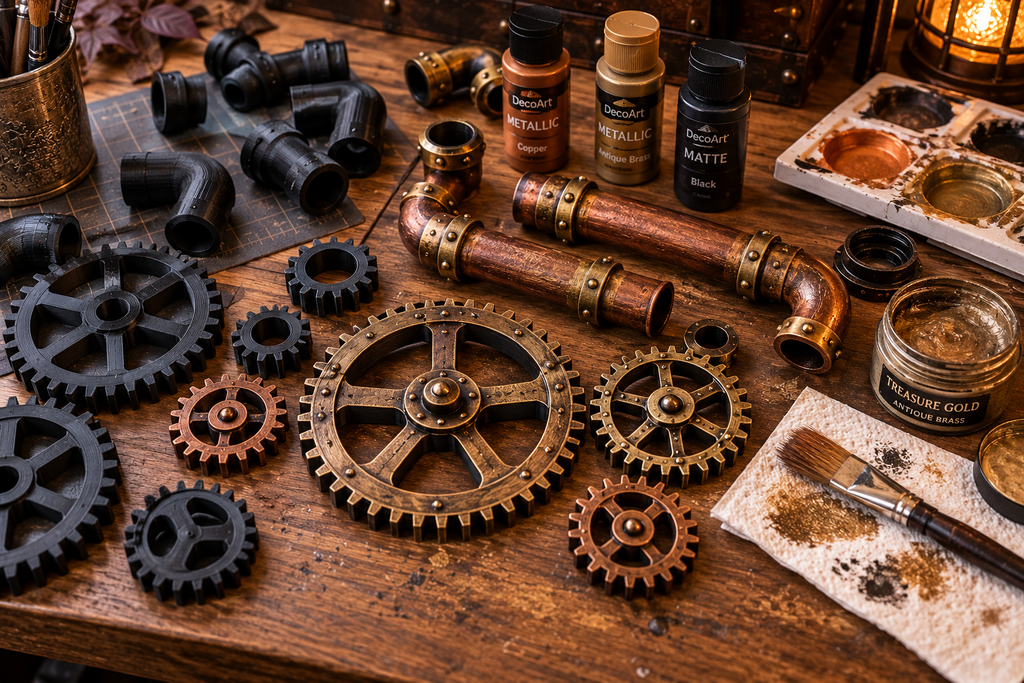
Thin coats beat thick ones. Two light passes will give you a smoother finish than one heavy coat, and you will not drown the fine detail on the teeth.
Personally, I use Vallejo paints. The quality is lovely, and their base, shade, light and airbrush sets make adding light and shadow easy whenever a piece needs it.
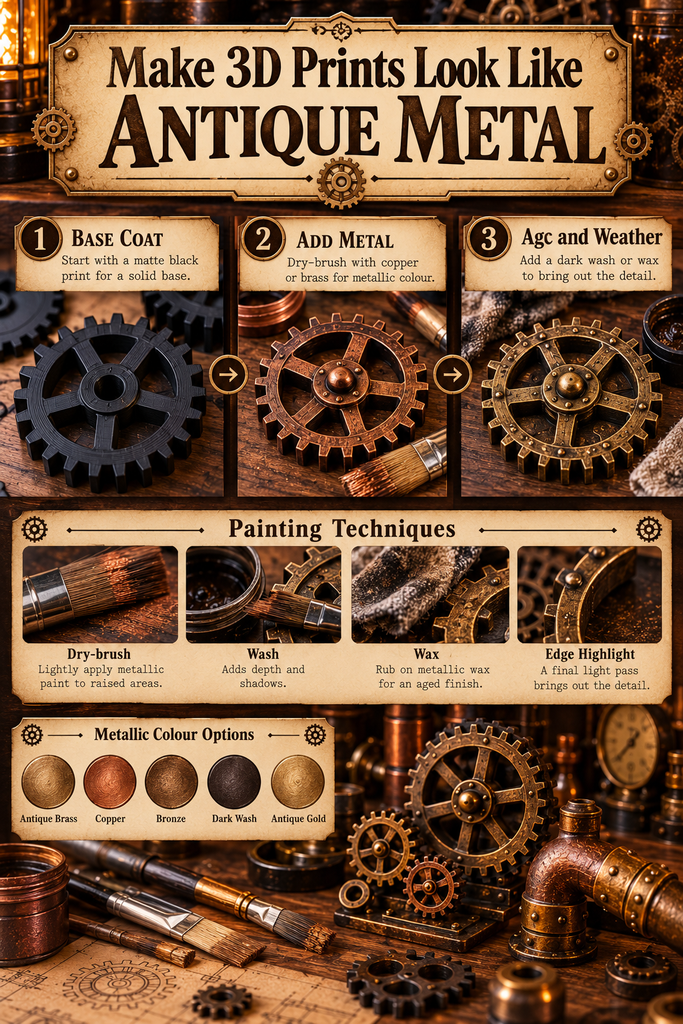
Dry-brushing (45 minutes)
Once the base coats are dry, load a flat brush, wipe almost all the paint off on a paper towel and drag it lightly across raised edges. The leftover paint catches only the high points, which is exactly where real metal would wear and shine.
Use a lighter brass or a touch of gold for this step. Dark recesses and bright edges are what sell the effect.
Metallic rub (30 minutes)
For the final glow, use a little metallic rub-on wax on your fingertip and buff it across the highest edges of the centrepiece and the biggest gears. It gives a soft, genuine-looking sheen that paint alone struggles to match.
A tiny amount goes a long way. Add it in stages and stop sooner than you think you should.
Weathering (optional, 20 minutes)
For a lived-in look, wash diluted dark brown into the recesses and wipe back the excess. Keep any verdigris touches sparing so the scene stays warm.
Let everything cure overnight if you can. Painted pieces handled too soon pick up fingerprints that never quite come out.
💡 Sunday Morning: Assemble and Add Light
Sunday is the satisfying one. Everything is made, and now it simply has to become a scene.
Dry-fit first (30 minutes)
Before you glue anything, set the backdrop in the shelf and arrange all the pieces on the shelf floor. Step back, squint and move things around until it feels balanced.
Take a quick photo of the arrangement before you start gluing.
Glue and fix (60 minutes)
Work from the back forwards:
- Mount the pipework to the backdrop first, so it appears to emerge from the panel.
- Add the wall-mounted gears, checking that meshing pairs actually touch.
- Fix the freestanding gears and the centrepiece plinth to the shelf floor.
- Add labels, tags and trim last, once you know exactly where they sit.
A two-part epoxy works for plastic to plastic, and a thinner craft glue gives you more adjusting time on card.
Lighting (45 minutes)
Light is what lifts a shelf display from nice to remarkable. You have two straightforward options, and both work well.
Option one is battery LED fairy lights or small battery tea lights. These are the simplest. Warm white wire lights tuck behind gears and pipework, and a battery pack hides at the back or behind the plinth. No cables, no sockets, no fuss.
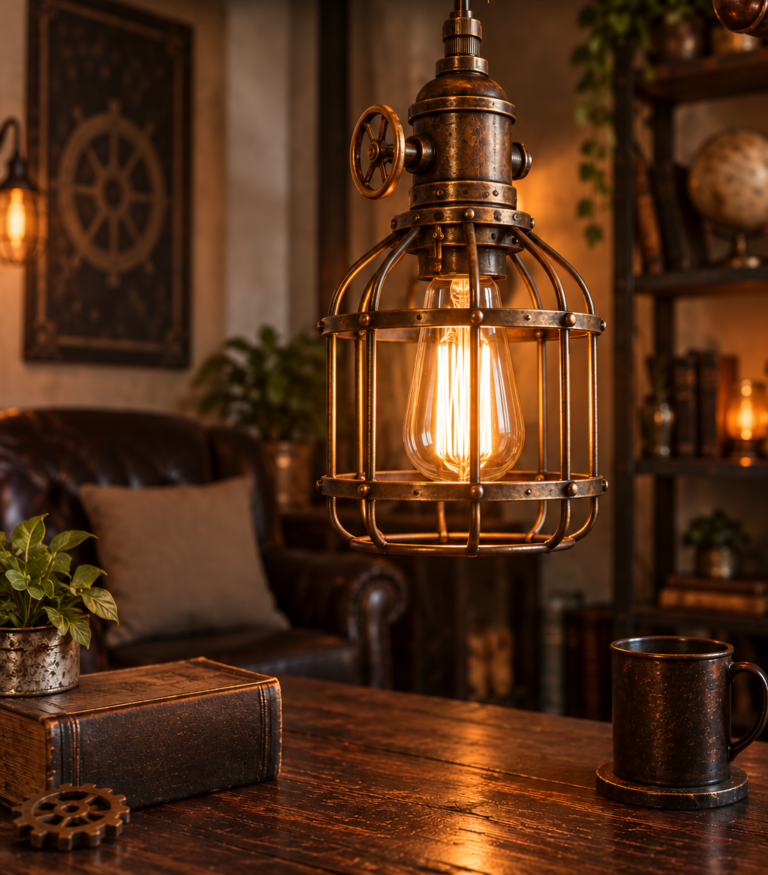
Option two is a warm filament-style bulb. If your shelf is near a socket and you want a bolder look, a small lamp holder with a filament-style LED bulb gives you that proper amber glow. LED versions run cool, which matters when they sit close to painted plastic.
Choose a warm white of around 2200 to 2700K either way. Cool white lighting turns brass into yellowed paper, and nobody wants that.
If you want more ideas for the lighting side, Steampunk Lighting Ideas, From Edison Bulbs to Brass Fixtures goes much deeper than I can here.
🪞 Sunday Afternoon: Stage and Style
Now stop building and start styling. A scene needs a little breathing room and a few things that are not made by you.
Add found objects
A real pocket watch, an old brass key, a small glass bottle or a stack of aged books will make the printed pieces feel like part of a collection. Real objects next to printed ones is exactly what makes the whole thing believable.
If you want ideas for gathering suitable finds, Turning Everyday Finds into Steampunk Pieces Without Specialist Tools is full of them.
Mind the negative space
Resist the urge to fill every inch. Leave a little empty shelf so the eye has somewhere to rest.
Check it in the dark
Turn off the room light and look at the display with only the LEDs on. This is the real test, and you will often want to nudge a light or two for a better glow.
🔧 What to Drop If You Are Running Behind
Weekends have a way of shrinking. Here is how to cut the project down without gutting it.
Cut in this order:
- Weathering and verdigris, which is purely optional.
- Extra labels and trim, keeping just two or three tags.
- The wall-mounted gears, keeping only the freestanding cluster.
- The pipework run, leaving the dial and gears to carry the scene.
Never cut these:
- The centrepiece, which is the heart of the display.
- The backdrop, because without it the scene has no frame.
- The lighting, because it is what makes the whole thing glow.
If you are short on printing time rather than finishing time, print the centrepiece and three or four gears and call it done. A smaller scene that is well finished beats a large one that is half painted.
📏 Scaling It to a Different Shelf
The layout works on almost any shelf with a few adjustments.
For a narrower shelf (30 to 45 cm): Keep the centrepiece and halve the gear cluster. Run the pipework vertically instead of across.
For a wider shelf (80 cm and up): Print a second, smaller centrepiece to balance the first, and extend the pipework run. Resist scaling a single piece up too far, as large prints get slow and warp more easily.
For a shallow shelf: Mount more elements on the backdrop and keep the freestanding pieces slim.
🌟 The Finished Display
By Sunday evening you will have a scene with brass gears catching the light, copper pipework running into a riveted panel and a dial that looks like it belongs in an airship. It is a project that looks far more complicated than it was.
Once you have built one, the second is quicker, and the third starts to become a collection.
If you want to dig deeper into the wider world of making, Getting Started with Steampunk Making: Tools, Materials and First Projects is a good next stop.