Getting Started with Steampunk Making: Tools, Materials and First Projects
Getting started with steampunk making means building a small, honest toolkit first, then learning three or four core skills, aging metal-look finishes, bonding mixed materials, and basic assembly, before spending money on anything specialist. You don’t need a workshop full of gear to make your first goggles or your first bit of gear-covered decor. You need a handful of reliable tools, a willingness to make something a bit wonky the first time, and a project small enough to actually finish.
As an Amazon Associate I earn from qualifying purchases and sometimes recommend products from other sellers at no extra cost you. For more details see my disclosure policy and privacy policy.
This guide covers what a starter kit really needs (and what it doesn’t), where to source materials without overspending, the foundational skills worth learning early, three genuinely beginner-friendly first projects, and the budget traps that catch most new makers in the first month.
🔧 What Actually Belongs in a Starter Toolkit
It’s tempting to buy everything the big supplier catalogues recommend before you’ve made a single thing. Resist it. A realistic starter kit is smaller than you’d expect:
- A basic hot glue gun and spare glue sticks, for fast, forgiving assembly
- A craft knife and cutting mat, for clean edges on card, leather substitute and foam
- Fine sandpaper (a couple of grits), for smoothing edges and prepping surfaces for paint
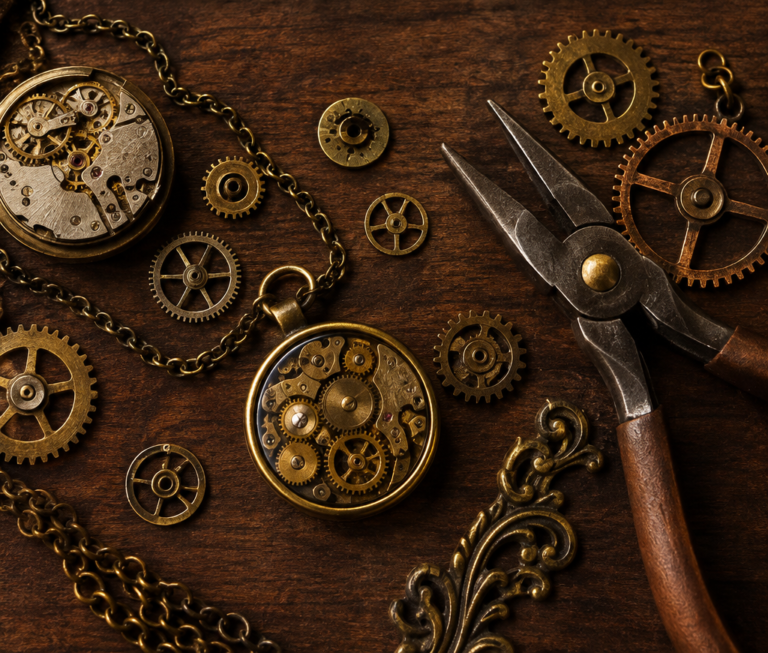
- A small set of pliers (round-nose and flat-nose), for wirework and jewellery-scale findings
- A basic acrylic paint set in metallics: brass, copper, gunmetal and a dark wash colour
- A couple of soft and stiff brushes, for base coats and dry brushing
- Superglue and a multipurpose strong adhesive, for materials hot glue won’t hold
That’s genuinely enough to complete your first two or three projects. Rotary tools, wood burners, leatherworking kits and proper metalworking gear can all wait until you know which direction your making is actually heading. Buying them early, before you know what you enjoy, is where most starter budgets quietly disappear.
Most of the list above can be picked up from a general craft shop or hardware store in a single trip, and you likely already own a few pieces of it. If you’re prioritising, spend first on decent pliers and a proper metallic paint set. Those two items do more work across more projects than anything else on the list, and cheap versions of either tend to frustrate rather than help.
🛠️ Where to Source Materials Without Overspending
Specialist steampunk suppliers are useful once you know exactly what you’re after: cast resin gears, brass findings, specific leather-look fabrics. But for a first project, they’re rarely the cheapest or most interesting starting point.
Hardware stores are an underrated source. Washers, small chains, cabinet hardware and pipe fittings all read as “mechanical” long before they’re painted, and they cost a fraction of purpose-made steampunk components. Thrift shops and salvage yards are even better once you know what to look for: old clock parts, broken jewellery for findings, worn leather belts that can be cut down, and picture frames with usable trim. Charity shops are worth a regular browse rather than a one-off trip, since stock turns over constantly.
Specialty suppliers earn their place once you’re working on a project that genuinely needs a specific part, a particular gear size, a resin cog, a set of matching goggles lenses. Save that spend for when you know exactly what you’re solving for.
It’s also worth keeping a running list as you go. When you spot a broken watch at a thrift shop or a set of odd washers in a hardware store bargain bin, buy them even without a specific project in mind. A small box of “maybe useful” parts, built up slowly and cheaply, tends to save far more money over a year of making than any single specialist order.
⚙️ Foundational Skills Worth Learning Early
A handful of core techniques will carry you through most beginner projects, long before you need anything specialised:
Aging and patina techniques. A raw metallic paint job looks flat and toylike. Dry brushing a base coat with a darker wash, then highlighting the raised edges with a lighter metallic, is what makes plastic and resin read as aged brass or worn copper. This single skill does more for a finished look than any amount of expensive material.
Bonding metal-look materials. Hot glue works for lightweight assembly, but it won’t hold heavier resin or metal pieces long-term. Learning which adhesive suits which material, and where a small screw or wire wrap will outlast glue entirely, saves you from projects falling apart weeks after you’ve finished them.
Basic assembly and layering. Steampunk pieces read as “built” rather than “decorated” when they have visible layers: a base structure, then applied details, then finishing touches. Practising this layered approach on a small project teaches you far more than reading about it does.
None of these skills need a course or a kit to learn. A single practice piece, an offcut of card built up with a few washers and a coat of aged paint, is enough to see how patina, bonding and layering actually behave before you commit them to a project you care about finishing well.
🎩 Three First Projects Worth Actually Making
A pair of basic goggles. Start from an inexpensive welding or costume goggle base rather than building lenses from scratch. Add washers, small gears and aged leather-look strips around the frame, then finish with your dry-brush patina technique. This project touches nearly every foundational skill in one manageable go.
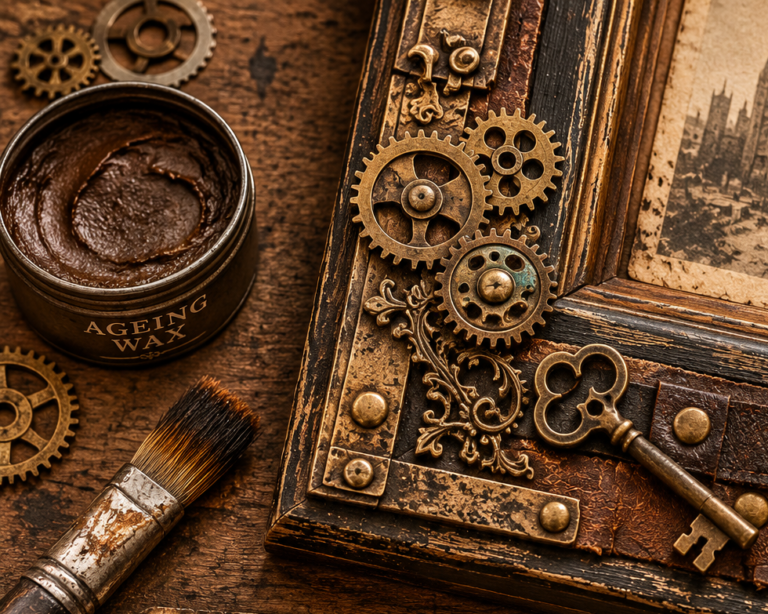
A small decor accent, like a framed “gauge” piece. Take a small picture frame, add a clock face or printed dial, surround it with washers and off-cut gears, and age the frame itself. It’s flat, forgiving of mistakes, and gives you a finished piece for a shelf or wall within an afternoon or two.
A jar light. A mason jar wrapped in aged wire, fitted with a small battery light and a few decorative gears around the lid, makes a genuinely useful finished object rather than a shelf piece with no function. It’s also an easy way to practise wirework at a low-stakes scale.
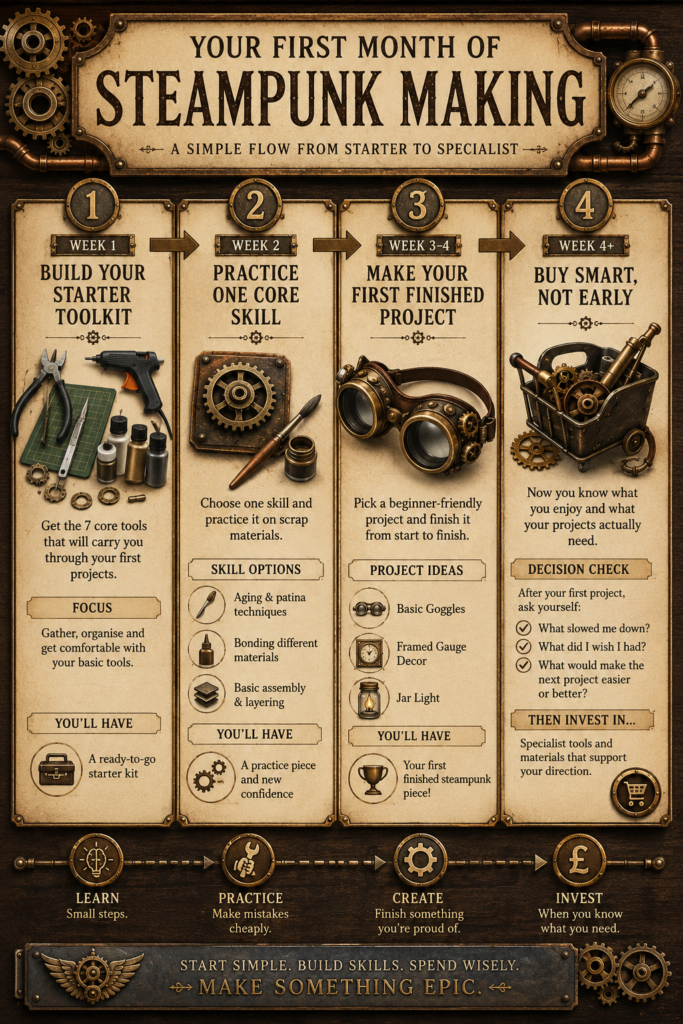
All three can be completed with the starter kit above and materials from a hardware store or thrift shop trip, no specialist supplier required for a first attempt.
💸 Common Early Mistakes and Budget Traps
The most common early mistake is buying tools for a skill level you haven’t reached yet. A rotary tool is genuinely useful once you’re doing detailed metal or resin work, but it’s an expensive and slightly intimidating thing to own before your first project is even finished.
The second is chasing “authentic” materials too early. Real brass and leather look wonderful, but they’re expensive and unforgiving for a first attempt. Painted resin, aged card and faux leather substitutes will teach you the same skills at a fraction of the cost and risk.
The third is treating a first project as a finished showpiece rather than practice. Your first goggles will probably be a bit uneven. That’s fine. The point of a starter project is learning where your patience runs out, what techniques you enjoy, and what you’d do differently next time, not producing something convention-ready on attempt one.
A fourth, quieter trap is comparing your early work to finished pieces you’ve seen online from makers years into their craft. Those results came from dozens of practice attempts you never saw. Judging a first project against a tenth or twentieth project is a fast way to lose motivation before you’ve properly started.
🗝️ How Making Fits the Wider Steampunk Lifestyle
Making your first piece isn’t a one-off craft project so much as an entry point into an ongoing aesthetic identity. The same aging techniques you learn on a jar light apply to home decor. The same layering approach that builds a good pair of goggles informs how a steampunk wardrobe is put together.
Once you’ve made one piece, you’ll likely find yourself looking at furniture, jewellery and even everyday objects and wondering what a bit of patina and a well-placed gear would do to them. That’s the actual hook, not a single finished project, but a different way of looking at the things around you.
Which first steampunk project suits you?
Answer three quick questions about time, budget and confidence, and we’ll match you to the right first build.
How much time can you set aside for a first project?
What’s your budget for this first attempt?
How confident do you feel with fiddly, hands-on detail work?
Answer all three questions to see your match.
✨ In Short
Getting started with steampunk making doesn’t require a full workshop or an expensive haul from a specialist supplier. A small toolkit, materials from hardware stores and thrift shops, and three core skills, ageing, bonding and layered assembly, are enough to finish a genuinely satisfying first project. Start small, expect some rough edges, and let your next purchase be guided by what you actually enjoyed making rather than what a supplier catalogue suggests you need.