Steampunk Lighting Ideas, From Edison Bulbs to Brass Fixtures
I keep telling people that lighting is the cheapest way into steampunk, and I keep being right about it. You do not need to gut a room or commit to a full aesthetic overhaul to get the look. Swap a few bulbs, add one statement fixture, and the rest of the room starts reading differently without you having touched the walls. Here is what I have actually learned about doing this properly, one lamp at a time.
As an Amazon Associate I earn from qualifying purchases and sometimes recommend products from other sellers at no extra cost you. For more details see my disclosure policy and privacy policy.
Why Lighting Is the Easiest Steampunk Upgrade
Most home style overhauls ask a lot of you: new furniture, new paint, new everything. Lighting does not. A single fixture change affects the whole feel of a room because light is the thing your eye adjusts to first, before it even registers the furniture underneath it.
That makes lighting the lowest-commitment way to test whether you actually like living with this aesthetic, rather than just liking it in photos. If a brass sconce turns out to be too much, it is a five-minute swap back. Redoing a whole room is not.
Edison and Filament Bulbs: Where to Start
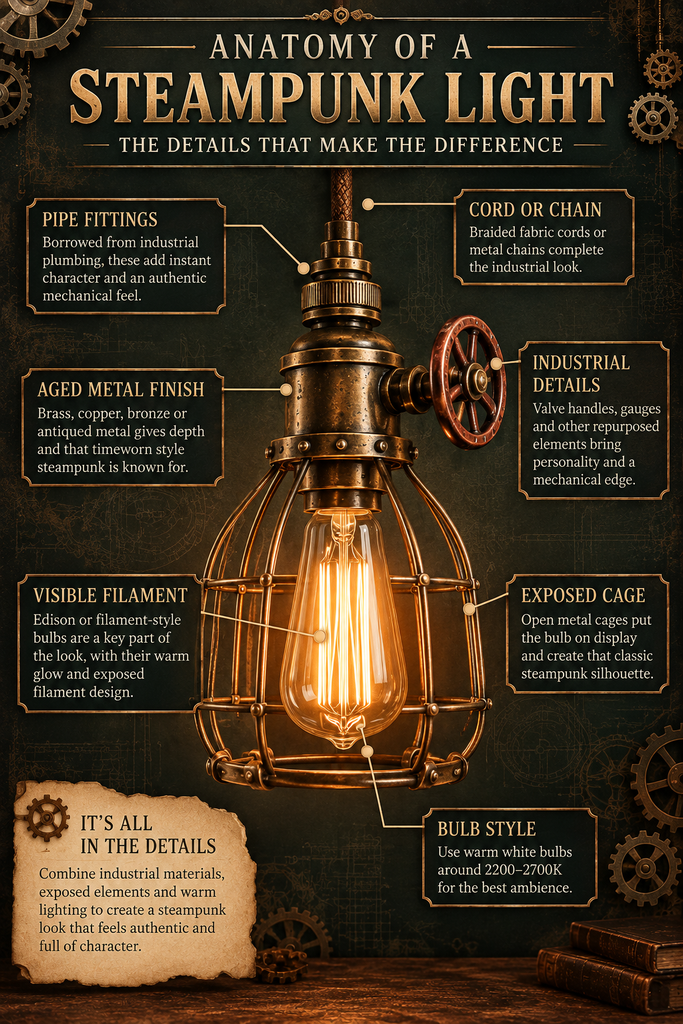
The bulb itself is doing more work than people expect. Edison and filament-style bulbs give off a warm, amber-toned glow with the visible filament as a feature rather than something hidden behind frosted glass, and that visible filament is basically the entire steampunk lighting aesthetic in miniature.
Original antique Edison bulbs run genuinely hot and are not the most efficient thing to leave burning for hours, so most people now buy LED versions built to mimic the same warm glow and visible filament shape. You get the look without the running cost or the heat, and the bulbs last considerably longer, which matters once you own more than one fixture.
Start here before buying anything else. A few filament bulbs swapped into your existing lamps will tell you more about whether you like this look in your actual space than any amount of browsing will.
Pendant and Cage Fixtures with Exposed Bulbs
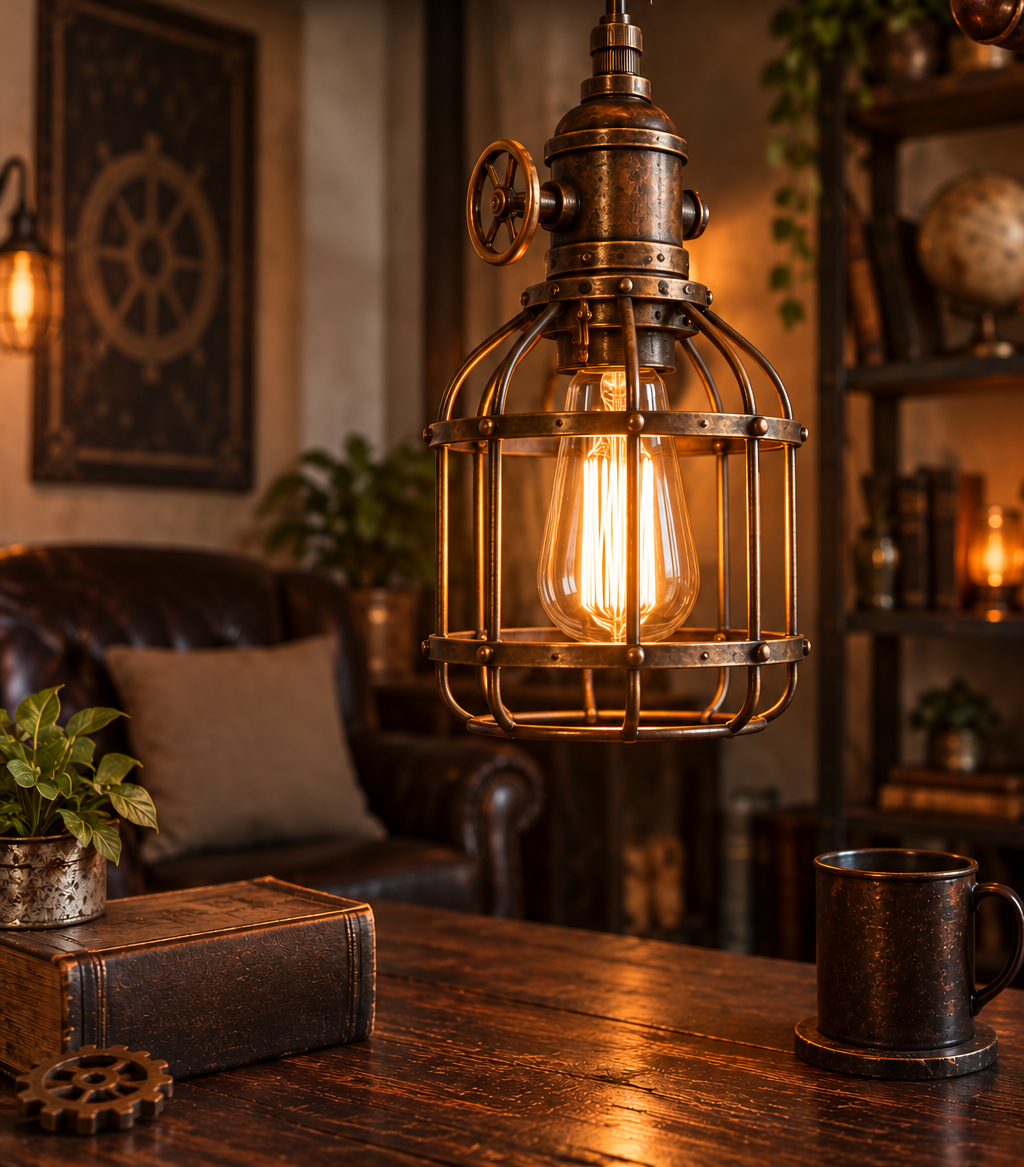
Once the bulb itself has you convinced, cage and pendant fixtures are the next natural step. These hang the bulb inside an open wire cage or a simple exposed socket, so the bulb is the visible feature rather than something diffused behind a shade.
They work particularly well over a kitchen island, a reading chair, or a desk, anywhere you want a single deliberate point of light rather than even room-wide brightness. One well-placed pendant does more for the aesthetic than several ordinary lamps scattered around the same room.
Brass, Copper and Aged-Metal Fixtures
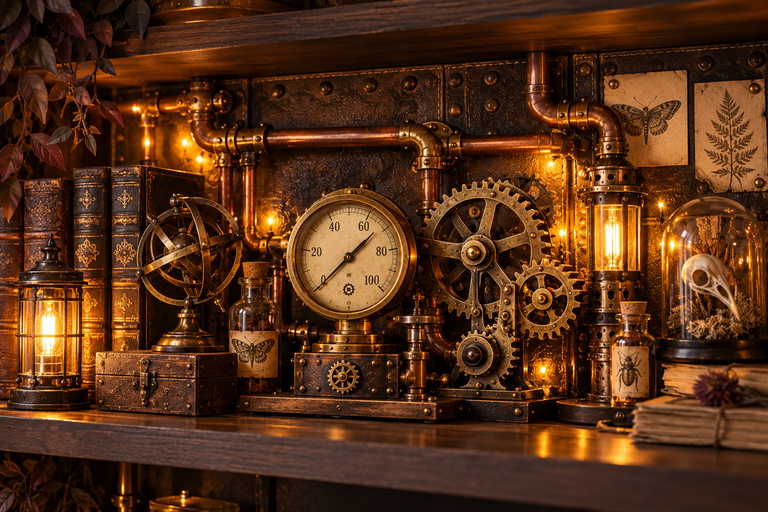
Beyond the bulb, the fixture material is where the look really lives. Brass, copper, and aged or antiqued metal finishes are the backbone of steampunk lighting, whether that shows up as a wall sconce, a floor lamp, or a full chandelier.
Sconces are the easiest entry point because they take up no floor space and usually cost less than a floor lamp or chandelier of comparable quality. Floor lamps give you a bigger, more sculptural presence if you have the space and want a genuine focal point. Chandeliers are the commitment piece, best saved for a dining room or entryway once you already know you love the look elsewhere in the house.
Repurposed Industrial Elements
The most distinctive steampunk fixtures usually borrow parts that were never meant to be lighting in the first place. Pipe fittings repurposed as a lamp base, exposed gauges mounted near a switch, valve handles used as a dimmer or pull, these industrial details are what separate a genuinely steampunk fixture from a plain vintage-style one.
You do not need to build this from scratch to get the effect. A growing number of fixtures are manufactured with these details already built in, which is a reasonable place to start if you are not ready to source individual pipe fittings and wire them yourself. If you do want to go the DIY route eventually, our guide to getting started with steampunk making covers the tools and materials worth having on hand before you attempt a build like this.
Budget Entry Points vs Statement Pieces
You do not need to spend a lot to start. A pack of filament LED bulbs and one plug-in wall sconce is a genuinely low-cost way to test the whole aesthetic before committing further, and neither requires any wiring changes if you go with plug-in rather than hardwired fixtures.
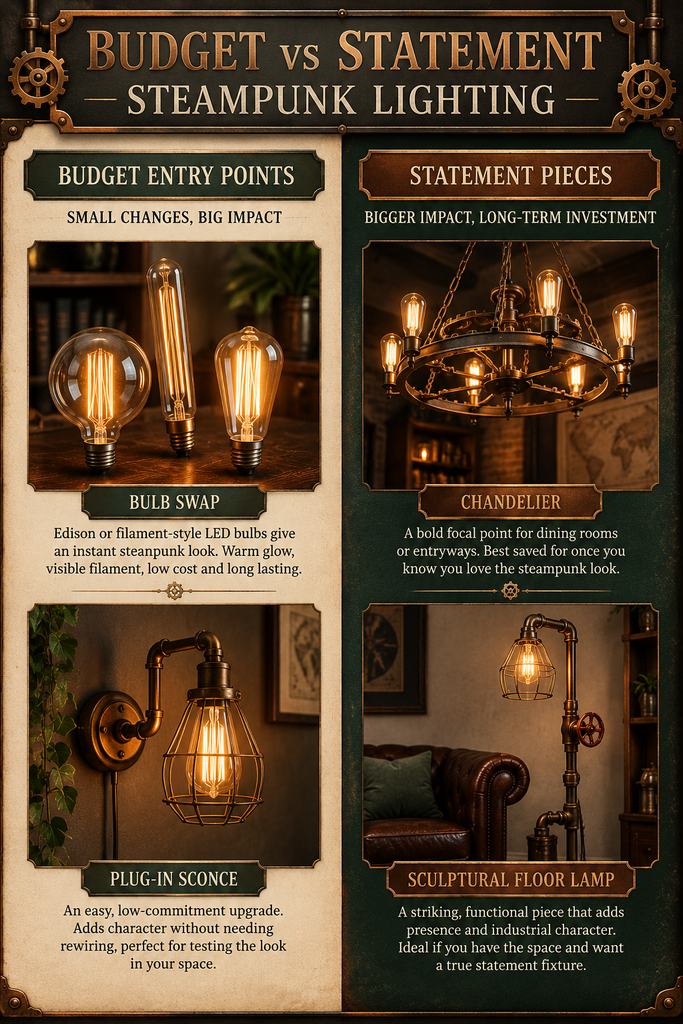
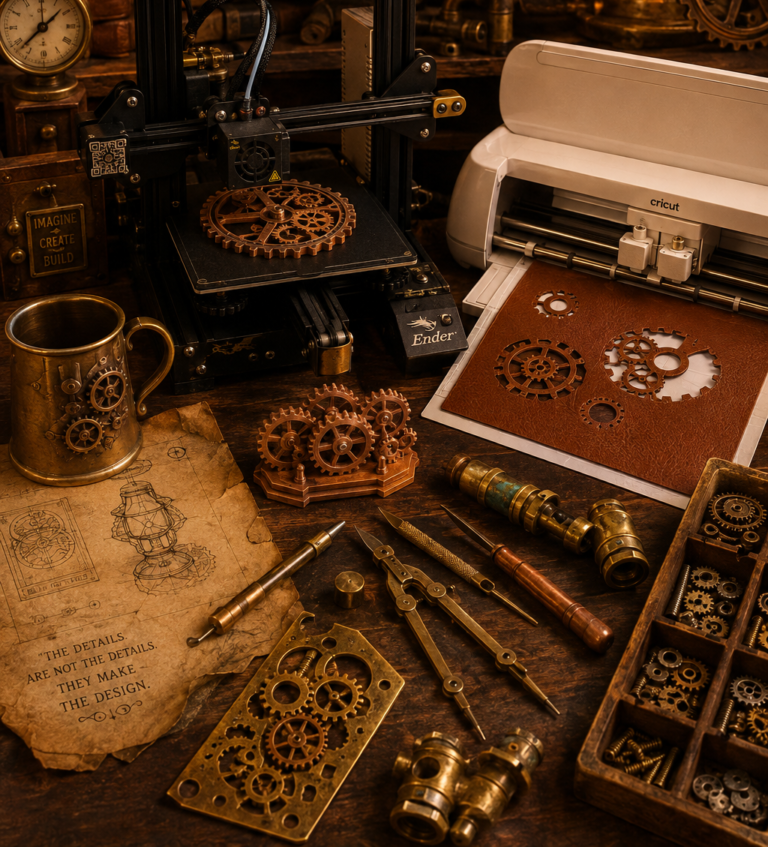
Statement pieces, a full brass chandelier or a large sculptural floor lamp, are worth saving for once you know the look is one you want to live with long-term rather than a passing interest. If you already have a 3D printer or are considering one for other steampunk projects, it is worth knowing that printed housings and decorative shrouds can bring the cost of a statement fixture down considerably, since our piece on 3D printing steampunk props and decor covers exactly this kind of build.
For anyone furnishing a whole room at once rather than one fixture at a time, our roundup on DIY steampunk homewares with a 3D printer and a Cricut is a good companion piece, since lighting is really just one category in a much bigger decor picture.
A Quick Note on Bulb Heat and Safety
Filament-style LED bulbs run much cooler than the original antique Edison bulbs did, but any exposed bulb sitting in an open cage fixture is still more accessible to accidental contact than a bulb hidden behind a shade. Keep exposed fixtures out of reach of small hands and curious pets, and give any fixture a few minutes to cool before touching it if you have just turned it off. None of this should put you off the look. It is just worth knowing before you hang a cage pendant at head height in a hallway.
Placement Tips for Getting the Look Right
A few practical notes worth knowing before you start hanging things. Pendant and cage fixtures generally look best hung low enough that the bulb itself is visible from a normal sitting or standing position in the room, rather than mounted so high that the detail disappears into the ceiling. Mixing warm filament bulbs with any cooler, blue-toned bulbs elsewhere in the same room will fight the whole effect, so it is worth checking the colour temperature listed on a bulb’s packaging before you buy, aiming for something in the 2200 to 2700 Kelvin range for that authentic warm glow.
Layering matters here just as it does with steampunk fashion. One statement fixture plus a couple of smaller, quieter lighting touches, a plug-in sconce or a small filament-bulb table lamp, reads as considered rather than a single lonely lamp trying to carry the whole room’s aesthetic on its own.
Matching Lighting to Different Rooms
Not every room wants the same fixture, and matching the style to the space saves you from buying something that looks perfect in a photo and wrong on your actual wall. Kitchens do well with pendant lighting over an island or breakfast bar, since a cluster of two or three small cage pendants gives you task light and atmosphere in one fixture rather than needing both a ceiling light and a separate mood light.
Living rooms and reading corners are where floor lamps and table lamps with filament bulbs earn their keep, since these are the rooms where you actually want to sit under warm, low light for a while rather than pass through under bright overhead lighting. A single brass floor lamp next to a reading chair does more for the room’s feel than any overhead fixture could.
Bedrooms benefit from restraint. One warm-toned bedside lamp or a small wall sconce either side of the bed gives you the aesthetic without the visual clutter of a full cage pendant hanging where you are trying to sleep. Home offices and workspaces are the exception to the “task lighting is separate” rule mentioned further down, since a well-placed desk lamp with a filament bulb can genuinely double as both your working light and the room’s main style statement, provided you are not doing detailed close work that needs brighter, cooler light.
Entryways and hallways are where a single more dramatic fixture, a small chandelier or an oversized pendant, makes the most sense, since these are transitional spaces you walk through rather than linger in, which means a bolder, slightly less practical fixture works better here than almost anywhere else in the house.
Quick FAQ
Do I need an electrician to add steampunk lighting? Not necessarily. Plug-in wall sconces and standard lamp fixtures need no rewiring at all, which makes them the better starting point for renters or anyone who wants to avoid an electrician’s callout fee. Hardwired chandeliers and permanent fixtures are where you would want a professional involved.
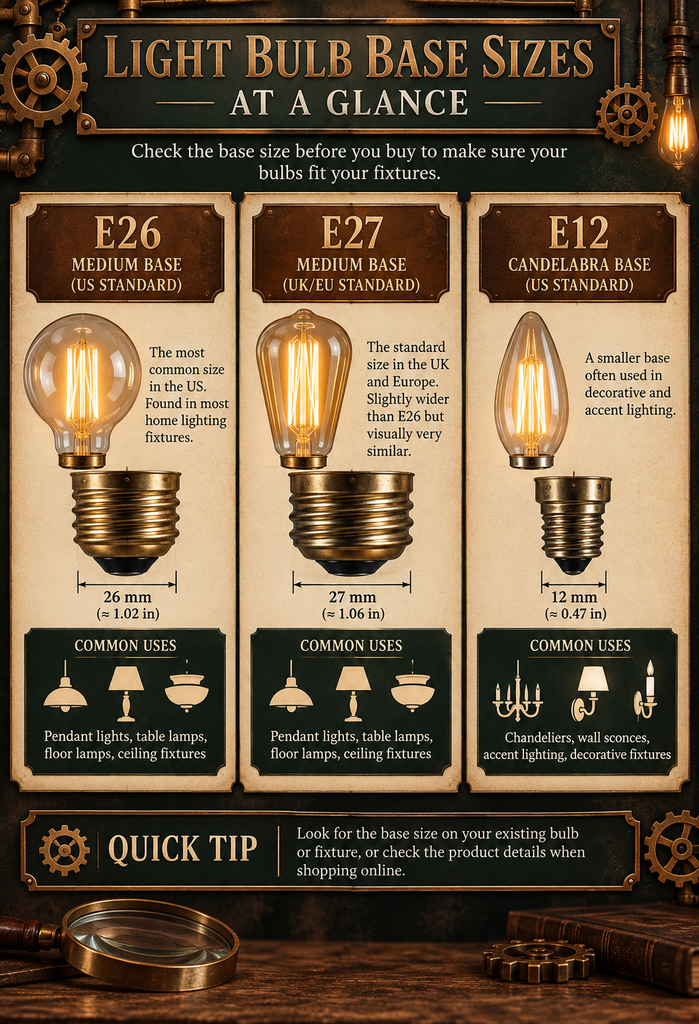
Will Edison-style LED bulbs fit my existing lamps? Most filament LED bulbs come in standard base sizes (commonly E26 or E27, sometimes listed as E12 for smaller candelabra-style fittings), so they will usually fit an existing lamp as long as you match the base size. Check your current bulb’s base before ordering.
Is this look too dark to actually read or work by? Warm filament bulbs are dimmer than a typical cool-white LED of the same wattage, so a single fixture may not be enough for task lighting like reading or close work. Most steampunk-styled rooms pair one or two atmospheric statement fixtures with a separate, brighter reading lamp for actual task use.
Can I mix steampunk lighting with a room I have not otherwise decorated? Yes, and this is honestly the easiest way to start. A single brass sconce or filament table lamp reads as a deliberate design choice even in an otherwise plain room, since warm industrial-style lighting has enough visual weight to stand on its own without matching furniture around it.
How many fixtures does one room actually need to look intentional? Most rooms only need one true statement piece, plus one or two smaller supporting lights. Filling a single room with several large, competing fixtures usually reads as cluttered rather than committed, so it is worth choosing one focal fixture and letting everything else stay quieter.