Simple Steampunk Jewellery Projects for Beginners
If you’ve spent any time building a steampunk wardrobe or kitting out a costume shelf, you’ve probably had the same thought I did: the jewellery is what actually sells the look. A great coat can only do so much. It’s the gear pendant, the watch-part earrings, the stack of brass-toned charms that says “this person means it.”
As an Amazon Associate I earn from qualifying purchases and sometimes recommend products from other sellers at no extra cost you. For more details see my disclosure policy and privacy policy.
I’m not coming at this as a lifelong jeweller with a fine arts background. I came at it the way most makers do, sideways, through trial and error, a lot of bent wire, and eventually a small handmade jewellery business that taught me more in six months than any tutorial ever did. So this isn’t a shopping-blogger roundup of pretty things to buy. It’s the beginner path I actually wish someone had handed me: the real materials, the real starter tools, three projects you can finish in an evening, and the mistakes that quietly make handmade steampunk jewellery look costume-y instead of authentic.
If you’re newer to steampunk making in general, not just jewellery, our primer on tools, materials and first projects is a good companion piece to this one.
⚙️ What You Actually Need: Core Materials and Components
Steampunk jewellery leans on a fairly small, repeatable list of components. You don’t need a huge stash to start, just the right handful of things.
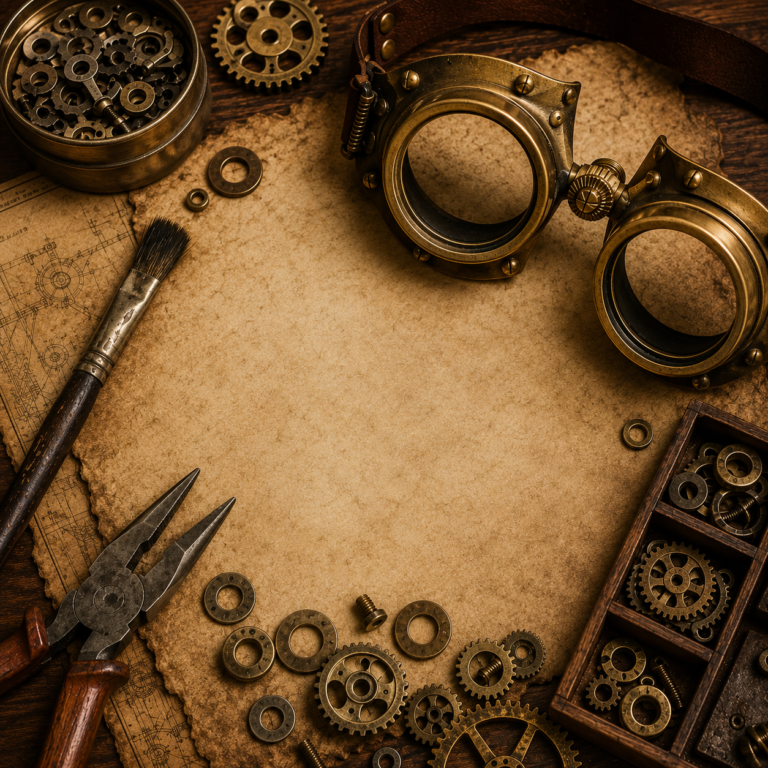
- Gears and cogs. These are the backbone of the aesthetic. You can buy them new as jewellery-making findings (brass-plated or antique-brass finishes are the most forgiving for beginners), salvage them from broken clocks and watches at flea markets or car boot sales, or use small resin or 3D-printed gear charms if you want a lighter, more affordable option.
- Watch parts. Old watch movements, gear trains, and crown stems give you that genuine “taken apart” look. Charity shops, flea markets, and secondhand watch lots on auction sites are realistic sourcing spots, though dedicated jewellery-supply sellers now stock cleaned, ready-to-use watch parts too if you’d rather skip the disassembly step.
- Jump rings. The unsung workhorse of all jewellery making. You’ll use these to connect nearly everything. Buy a mixed pack in a couple of sizes rather than committing to one.
- Chain. A simple cable or curb chain in an antique brass or gunmetal finish covers most steampunk projects. Buy it by the metre rather than pre-cut where you can, it stretches further.
- Findings. This is the catch-all term for the small connector pieces: jump rings, headpins, eye pins, clasps, earring hooks or studs, and jewellery glue or E6000 for anything that needs a permanent bond rather than a mechanical one.
Realistic sourcing for all of this splits into two camps: general craft and bead shops (reliable, consistent finishes, slightly more expensive) and dedicated jewellery-findings suppliers online (better range and pricing if you’re buying more than a project’s worth at a time). If you want the components pre-cleaned and ready to use rather than salvaged, a proper gear-and-cog assortment pack or a jewellery-findings starter kit is the easiest way to get a working stash without a dozen separate purchases.
🔧 The Minimal Starter Toolkit
Here’s the part that stops a lot of people before they start: they assume steampunk jewellery needs a full jeweller’s bench. It doesn’t. Three tools will get you through every project in this post.
- Round-nose pliers, for turning neat loops in wire.
- Flat-nose (or chain-nose) pliers, for opening and closing jump rings cleanly and gripping small parts without marking them.
- Wire cutters, ideally a small flush-cutter pair for a clean edge on headpins and wire ends.
That’s genuinely it to start. A basic three-piece jewellery pliers set covers all of the above in one purchase, and it’s the one tool investment I’d actually recommend making before you buy any components. Everything else (bead mats, a jump ring maker, a proper jeweller’s saw for cutting your own gear shapes) is a “buy it when you actually hit the wall that needs it” purchase, not a starter one.
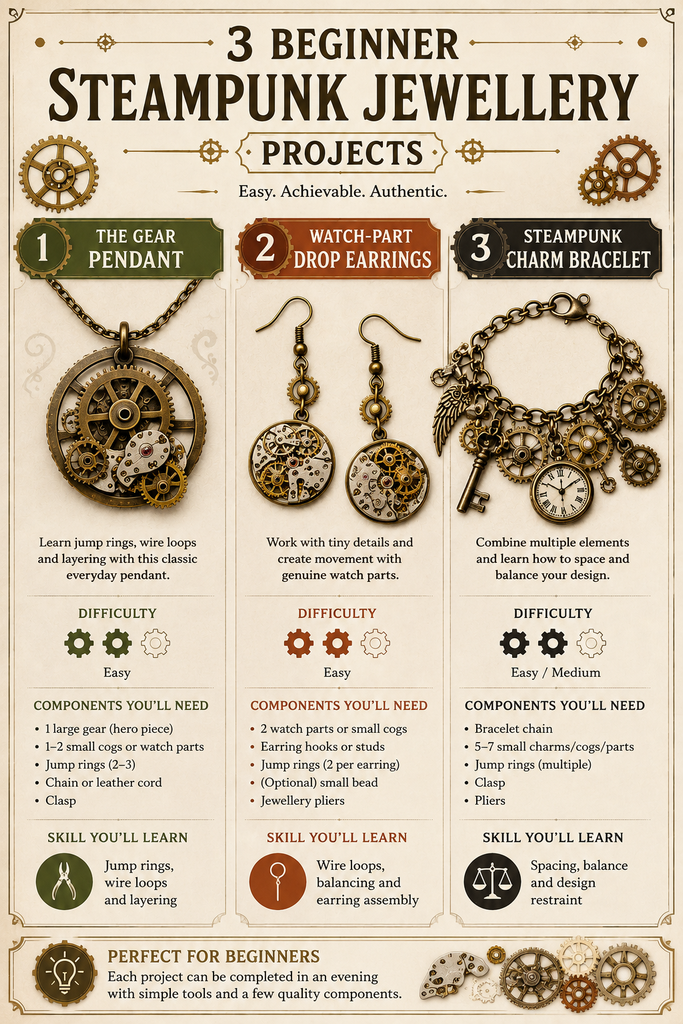
Project 1: The Gear Pendant
This is the project I’d hand any beginner first, because it teaches you jump rings, wire loops, and layering all at once.
- Choose one hero gear, ideally your largest or most detailed one. Resist the urge to stack three.
- Attach a jump ring through one of the gear’s teeth or an existing hole. Open the jump ring sideways (twist, don’t pull apart) to keep its shape.
- Add one or two smaller accent pieces, a tiny cog or a watch part, using a second jump ring so they hang slightly offset rather than dead-centre. This is what gives the piece movement instead of looking flat.
- Thread onto chain or a leather cord and finish with a clasp.
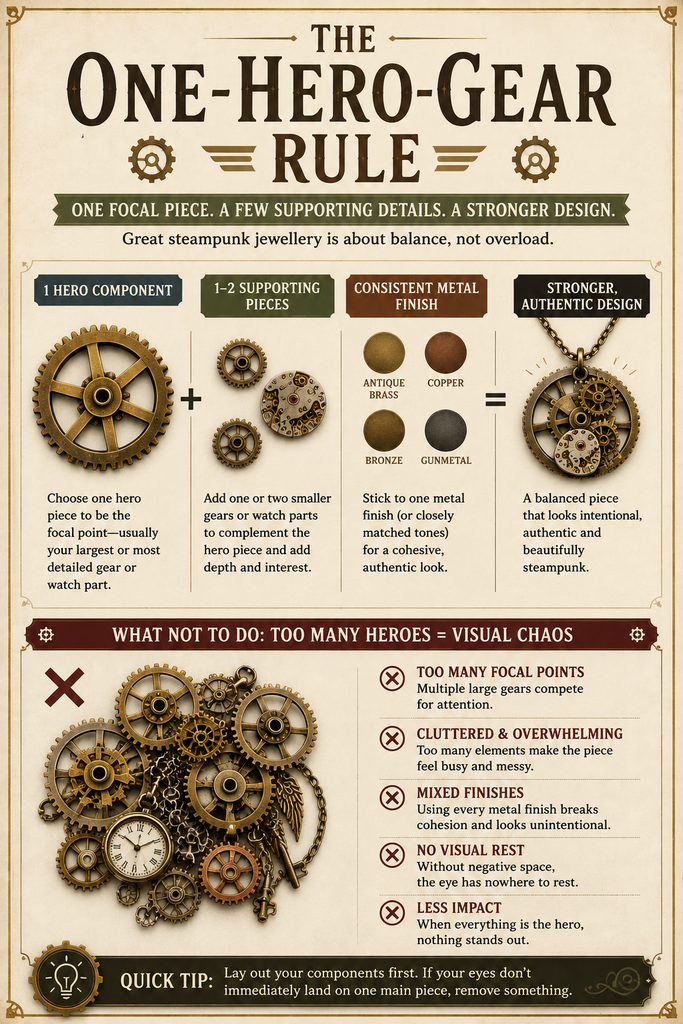
The whole thing takes maybe twenty minutes once your components are sorted, and it’s the single best test of whether a batch of gears actually work together before you commit them to a bigger project.
Project 2: Watch-Part Drop Earrings
Earrings are more forgiving than you’d expect, mostly because you’re working in miniature and small imperfections read as detail rather than mistakes.
- Pick two watch parts or small cogs that are close in size and finish (this matters more in earrings than anywhere else, since they hang side by side and any mismatch is obvious).
- Attach each to a headpin, turn a small loop above the part with your round-nose pliers, and trim the excess wire.
- Open an earring hook’s loop sideways, slide the headpin loop on, and close it.
- Optional: add one tiny jump ring between the headpin and the earring hook for extra movement.
If you only make one project from this list, honestly, make this one. It uses the least material, forgives the most, and gives you an immediate finished thing to wear.
Project 3: The Simple Charm Bracelet
This is the project that teaches restraint, which is the actual skill steampunk jewellery depends on.
- Start with a plain chain bracelet base (bought pre-made is completely fine here) or a simple adjustable chain length with a clasp.
- Choose three to five charms total: a small gear, a cog, a tiny key or watch crown, maybe one bead for a touch of colour. That’s the ceiling, not the starting point.
- Space them unevenly along the chain using jump rings rather than clustering them all together.
- Step back and look at it from a distance before you add anything else. If your instinct is “it needs one more thing,” that’s usually the moment to stop.
⚠️ Common Beginner Mistakes to Avoid
A few things trip up almost everyone in their first few pieces, myself included, back when I was still learning this on my own bench.
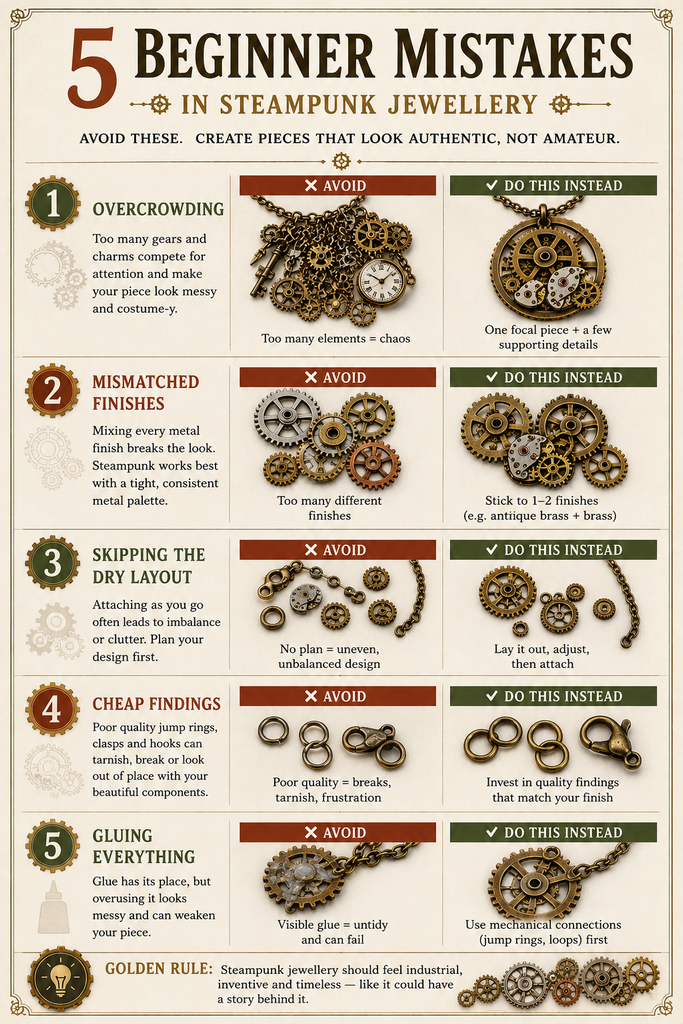
- Overcrowding. This is the single biggest tell of a beginner piece. One hero component with one or two supporting pieces almost always reads better than five competing for attention.
- Mismatched hardware finishes. Mixing antique brass, bright silver, and gunmetal in the same piece without intention makes it look thrown together rather than deliberately eclectic. Pick a dominant metal tone and let everything else support it.
- Skipping the dry layout. Lay your components out on the table before you attach anything permanently. It takes two minutes and saves you from committing to a combination that doesn’t actually work once assembled.
- Cheap findings. Bargain jump rings and headpins bend, discolour, and occasionally snap. You don’t need to buy the most expensive option, but mid-range findings from a proper jewellery supplier will outlast anything from a bargain multipack.
- Gluing everything. Glue has its place, but a piece built entirely from glued components rather than jump rings and wire loops tends to feel static and, frankly, a bit flimsy in the hand.
Landing the Aesthetic Authentically, Not Costume-y
The difference between “authentic steampunk” and “costume shop steampunk” mostly comes down to restraint and material consistency, not budget.
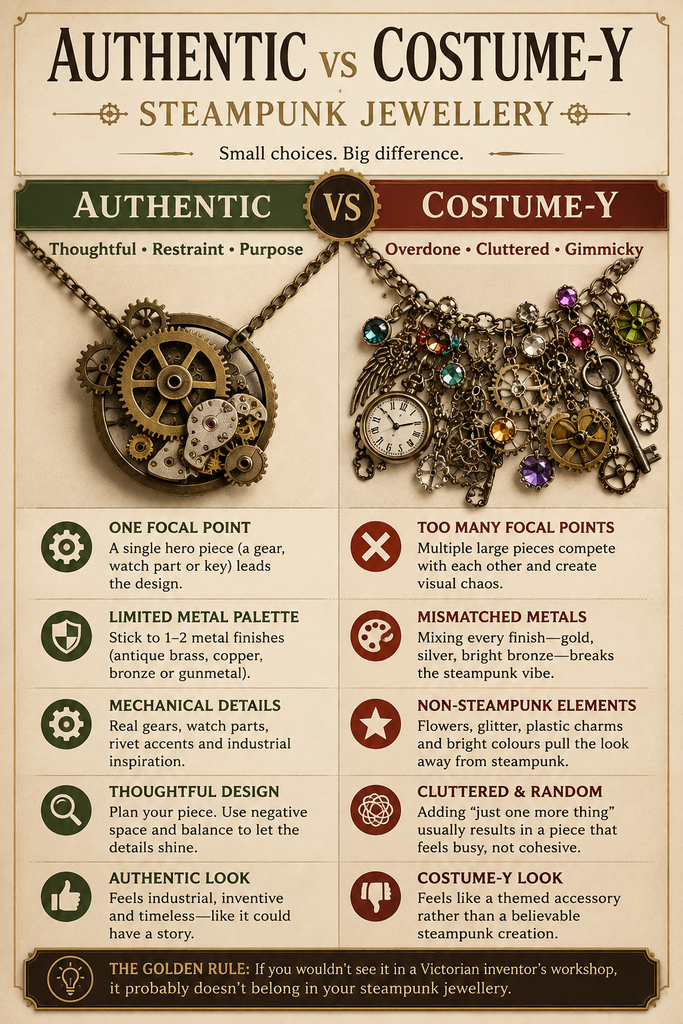
Stick to a tight colour and metal palette: brass, copper, bronze, maybe a hint of gunmetal, rather than throwing in every finish you own. Real Victorian-industrial objects were functional first and decorative second, so a piece with one clear “mechanism” idea (a single gear train, a single watch face) reads as more genuine than one trying to reference ten different steampunk tropes at once. Small structural details like tiny rivets, screw-head beads, or a hint of visible wire work do more for authenticity than adding another dangling charm ever will.
The costume-y trap is usually overload: too many gears, too many colours, too much glitter or paint layered on top of components that were already fine on their own. If in doubt, take one thing off rather than adding one more.
A Note From the Workbench
I’ll be honest, running a handmade jewellery business didn’t make me an expert so much as it made me fast at recognising my own mistakes. The gear pendant above? That’s roughly how my first genuinely good piece came together, after several that were, generously, overcrowded. The main thing that background actually taught me is the thing I’ve tried to bake into every project here: fewer, better components, assembled with a bit of patience, beat a pile of cheap parts every single time.
If you want to go further into steampunk making beyond jewellery, our 3D printing props and decor guide is a natural next step, especially if you like the idea of printing your own gear and cog blanks rather than sourcing them all secondhand. And if you’re curious how a “normal” life ends up this deep in gears and brass in the first place, that’s more or less my own origin story.
Start with one project, keep your component list short, and trust that the restraint is the aesthetic. That’s really the whole secret.